chatgpt say and it works.
Identify Kali Linux Partition:
Use the following command to identify the partition where Kali Linux is
installed. This will help you determine the correct partition number (e.g.,
/dev/nvme0n1p2, /dev/sdb2, etc.) for later steps.
sudo fdisk -l
Mount Kali Linux Partition: Create a mount point (a directory where you will
access Kali Linux's root file system) and mount the Kali Linux partition.
Replace /dev/sdXY with the appropriate partition identifier you found in the
previous step (e.g., /dev/sda1, /dev/sdb2, etc.).
sudo mkdir /mnt/kali
sudo mount /dev/sdXY /mnt/kali
Bind Mount the Required Directories: Bind mount the /dev, /sys, and /proc
directories from the Linux Mint system into the Kali Linux mount. This step is
necessary to ensure that GRUB can detect hardware and system information
correctly.
sudo mount --bind /dev /mnt/kali/dev
sudo mount --bind /sys /mnt/kali/sys
sudo mount --bind /proc /mnt/kali/proc
Chroot into Kali Linux: Change the root directory to the Kali Linux system using
the chroot command:
sudo chroot /mnt/kali
Update GRUB: Now that you are inside the Kali Linux environment, you can update
GRUB using the package manager. Run the following command to update GRUB:
update-grub
Exit and Unmount: After the update is complete, you can exit the chroot
environment and unmount all the previously mounted directories:
exit
sudo umount /mnt/kali/dev
sudo umount /mnt/kali/sys
sudo umount /mnt/kali/proc
sudo umount /mnt/kali
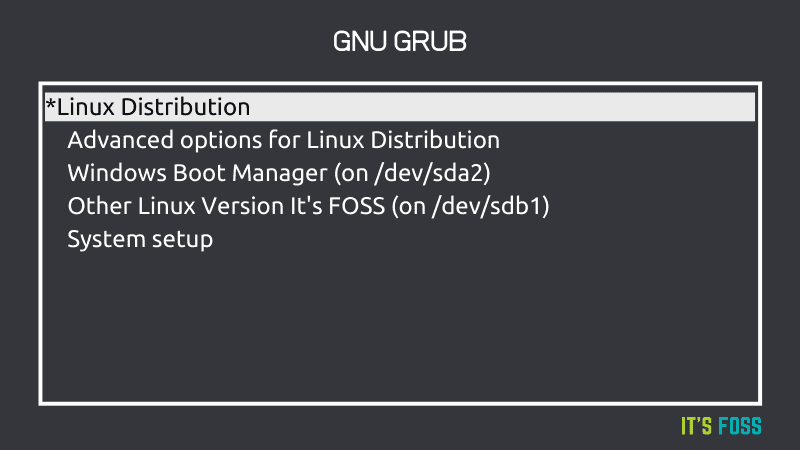
Reboot: Remove the Linux Mint Live media and restart your computer. It should
now boot into the updated Kali Linux with the new GRUB configuration. Please
exercise caution while updating GRUB, as incorrect configurations can
potentially render your system unbootable. Follow the steps carefully, and
double-check the partition identifiers to ensure you are updating the correct
system. If you are unsure or uncomfortable with these steps, it's a good idea to
seek assistance from someone experienced with Linux system administration.
Comments
Post a Comment